This page covers the basics you'll want to know before provisioning your first resource on Lightspeed Cloud: how to log in, and how your account is structured.
Logging in
Go to cloud.lightspeedhosting.com.au and sign in with the domain, username and password provided in your initial welcome email. The domain field routes your login to the right part of the platform - see Domains, accounts and users below for what that means. If you've forgotten your password, use the password reset feature on the login page.
Understanding Domains, Accounts, Users and Projects
Lightspeed Cloud organizes everything you provision under your domain, one or more accounts within it, the users who log in to each account, and optionally one or more projects.
- Domain - created for you by Lightspeed when you sign up. It's the outermost container for your organisation on the platform, and it's what the domain field on the login screen identifies.
- Account - sits inside your domain, and is the boundary that matters for both resources and permissions: it owns a pool of resources (VMs, volumes, IPs, networks, etc.), carries its own resource limits/quotas, and is assigned a single role that governs what it's allowed to do. Use separate accounts under your domain to hard-wall things that shouldn't share resources or permissions - production vs. staging, or one department vs. another.
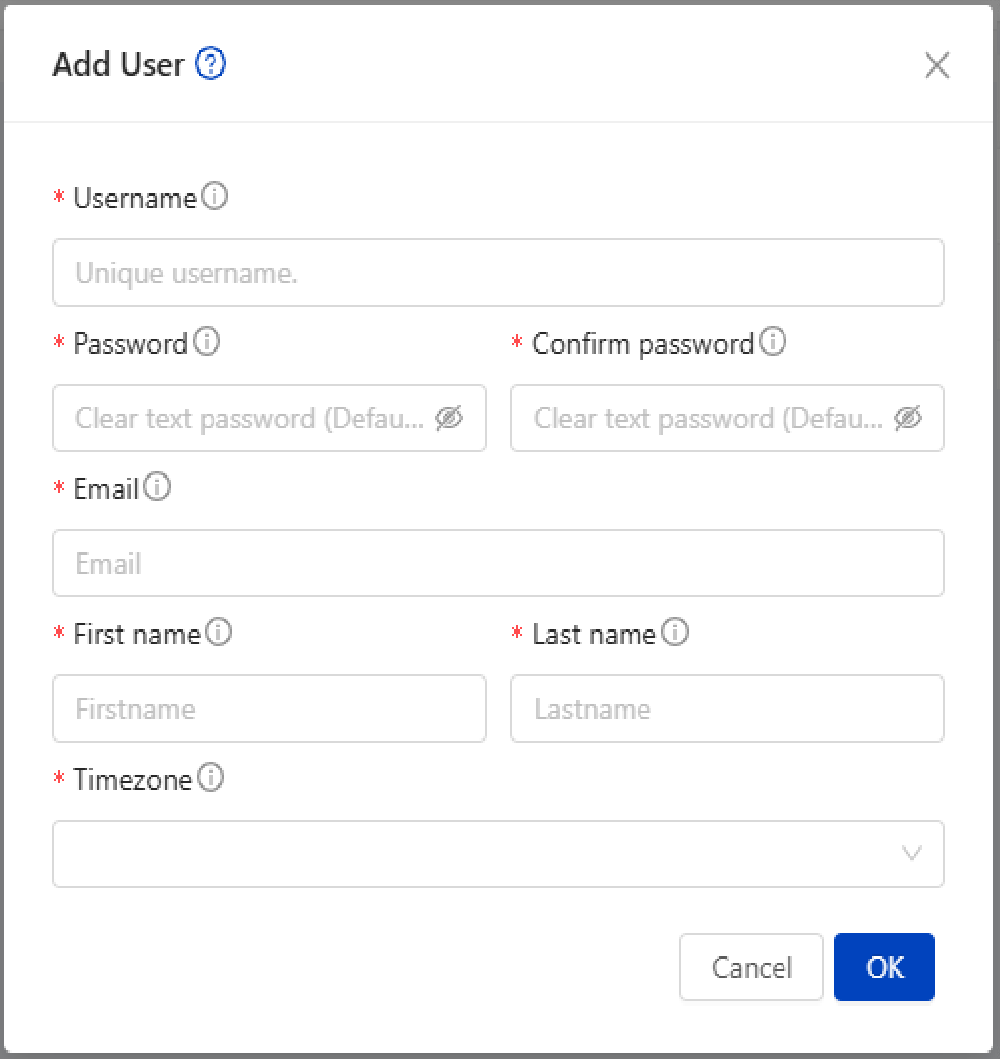
- User - a separate login for one person on an account, so a team doesn't have to share one set of credentials. Every user on an account shares that account's role and resources equally - there's no way to make one user more restricted than another on the same account.
- Project - a separate resource pool that lives in your domain alongside your accounts, not nested inside one. Anything created in a project belongs to the project itself, not to any account. Unlike account membership, project membership can pull in individual users directly rather than a whole account, and each member can be given a project role that scopes them down (never up) within just that project. This is the one place you can hand someone access more granular than "their whole account" - see Projects & Team Collaboration.
Two-factor authentication
You can add a second factor to your login from your account settings, either a TOTP authenticator app (Google Authenticator, Authy, etc.) or a static PIN. Once enabled, you'll be prompted for the second factor after your password on every login.
We'd recommend enabling this for every user on an account whose role goes beyond read-only, particularly if that role can create, resize or delete resources.
API access
If you want to automate against Lightspeed Cloud - Terraform, a custom script, or your own tooling - you can generate an API key and secret key pair from your account settings, instead of authenticating with your portal username and password. Requests are signed with the secret key, so it never needs to be sent over the wire.
Keep the secret key somewhere safe once it's generated - treat it the same way you would an SSH private key or a cloud provider credential, since anyone holding it can act on your account within its permissions. If a key pair is ever compromised, regenerate it from the same account settings page to invalidate the old one immediately.
Resource limits and quotas
Your account can have a fixed amount of each resource provisioned at any one time - a ceiling on instances, CPU cores, RAM, storage, public IPs and more. These limits exist to ensure fair access to all users of the platform, and are why a deployment can be refused with a "resource limit exceeded" error even when there is ample capacity in the zone.
Where to see your limits
Your limits, and your current usage against each of them, are shown on the dashboard - the home page you land on after logging in to cloud.lightspeedhosting.com.au. Each resource type has its own card showing how much of the limit has been consumed. Review it while planning a deployment, rather than after one is refused.
Limits are held by the account, so every user on an account draws from the same pool. Where a domain contains more than one account, each account carries its own limits, as does each project - a project is a separate resource pool rather than part of an account. Changing context in the portal changes which set of limits the dashboard reports on.
What is limited
The resource types tracked against your account span the three areas of the platform:
- Compute - the number of instances, and the total CPU cores and RAM allocated across them.
- Storage - the number of volumes, snapshots and templates/ISOs, along with total primary storage (disks attached to instances) and secondary storage (snapshots, templates and ISOs at rest).
- Networking - the number of public IP addresses, guest networks and VPCs.
Public IPs are the most commonly reached limit, as each VPC, static NAT and load balancer rule can consume one. The resource plan on any Design Zone shows how to account for them in advance.
When a limit is reached
The operation is refused in full, with a "resource limit exceeded" error naming the resource type that has been exhausted. Nothing is partially created, and running resources are unaffected. You can then either release capacity or request an increase.
To release capacity, remove what is no longer required. Redundant snapshots and templates typically recover the most storage, and detached volumes and unassigned public IPs continue to count against your limits until they are deleted or released. Confirm the result on the dashboard before retrying, as some cleanup - expunging destroyed instances, for example - runs on a schedule, so usage may take time to fall.
Requesting additional capacity
If your limits no longer suit your workload, raise a support ticket at portal.lightspeedhosting.com.au and we will review the request with you. Please specify which resource types you need increased and the capacity you require, along with the account or project concerned, as limits are applied per account and per project rather than across a domain.
Next steps
Once you're logged in, head to Virtual Machines to launch your first instance.